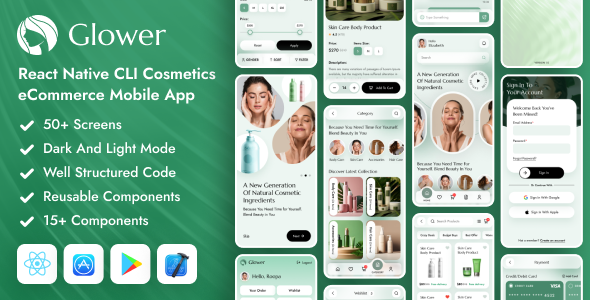
BakeRon
BakeRon - React Native Expo Cakes & Pastry Shop Mobile App Template
This documentation is last updated on 24 September 2025.
Thank you for purchasing this Mobile App template.
If you like this template, Please support us by rating this template with 5 stars
Installation -
Android
1.- Install Node.js
1.- Install Node.js
To run React Native app via the command line first, we need to install node.js. The easiest way is downloading it from the official website nodejs.org open the package and follow the wizard.
2. Install node modules
To install React Native packages run following command.
cd ./source
npm install
3. Link fonts and resource icons
To Link fonts and resource icons run following command.
npx react-native-asset
4. Start a development server
To run React Native app run following command.
npx react-native start
Using your Android Studio (Giraffe or last version) and build project with folder .source/android
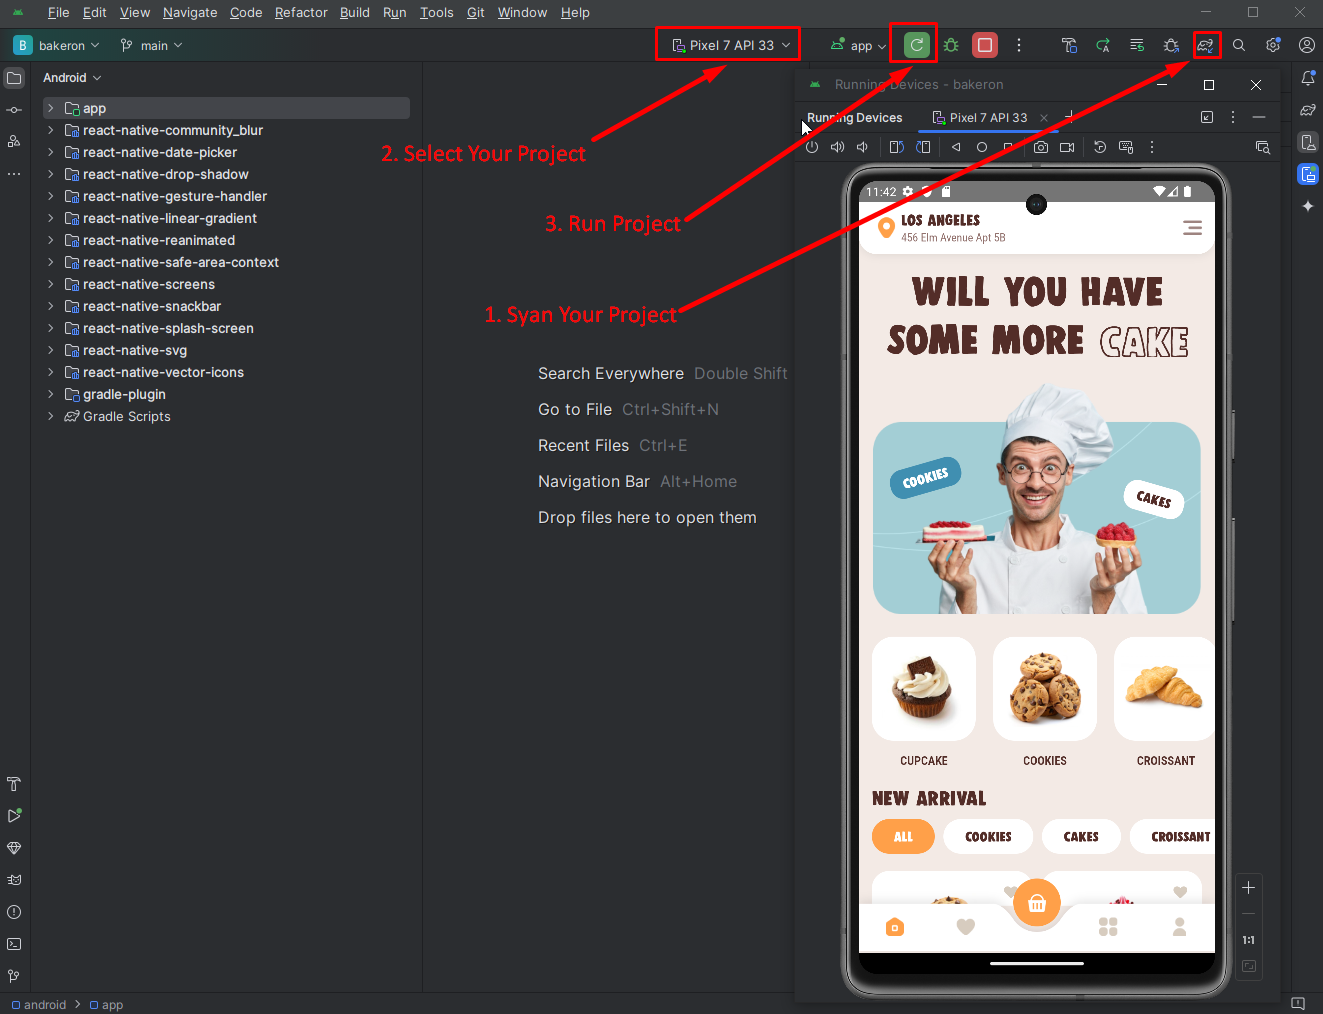
After then please do following steps below
- Step 1: ADM Manager – Install your virtual devices for use
- Step 2: Sync project with Gradle files
- Step 3:
Clean projectafter Sync project - Step 4: Select virtual device and Run your application
IOS
1.- Install Node.js
1.- Install Node.js
To run React Native app via the command line first, we need to install node.js. The easiest way is downloading it from the official website nodejs.org open the package and follow the wizard.
2. Install node modules
To install React Native packages run following command.
cd ./source
npm install
3. Start a development server
To run React Native app run following command.
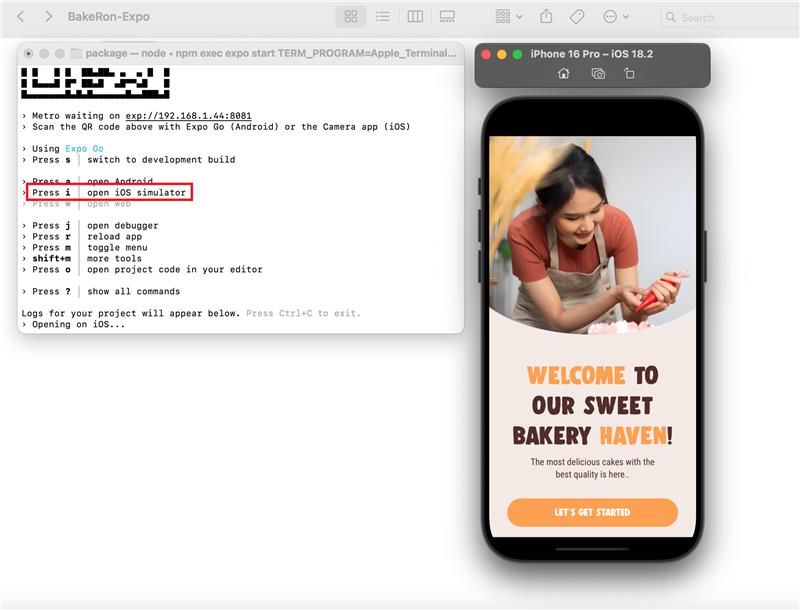
npx expo start
4. Press "i" | open IOS simulator
Using your Simulator and build project
Folder Directories -
- Package
- .expo
- android
- app
- .idea
- assets
- components
- Accordion
- ActionSheet
- BottomSheet
- Button
- ...
- constants
- layout
- Navigations
- Redux
- screens
- assets
- .gitignore
- app.json
- App.tsx
- babel.config.js
- eas.json
- package.json
- package-lock.json
- tsconfig.json
- webpack.config.js
Source Structure -
Constants Files
File locate: ./app/constants/..
- Theme color for app
- images use for the app
- Icons & Fonts use for the app
Components
File locate: ./app/components/..
Common components that could be used many times in your app:
- CustomButton.js
- MsgComponent.js
- ThemeBtn.js
- CustomSelectBox.js
- CustomToggle.js etc.
Navigation
File locate: ./app/Navigations/..
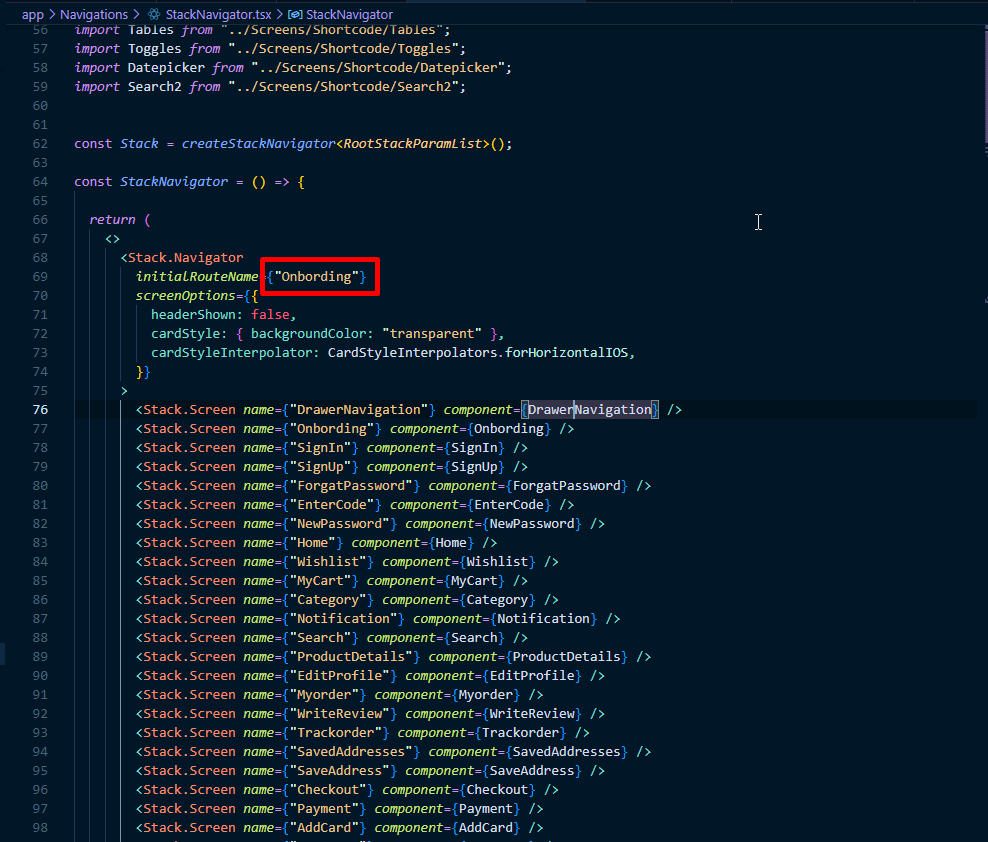
- Define first loading screen here.
- You can add bottom Navigation Screen in
./Navigations/BottomNavigation.js.
Screens
File locate: ./app/screens/..
Then navigation has defined in ./app/Navigations/StackNavigator.js will link with screens locate in folder ./app/screens/..
App all screens design are locate in here (./app/screens/..). You could change or re-structure by matching with your own project structure design.
Assets
File locate: ./app/assets/..
You can store images or other file resource in this folder
Layout
File locate: ./app/layout/..
You can edit Sidebar and Header from here.
Theme -
Font Family
The default font family name “jost” are being used for this template. If you need change or a custom font to be the prettiest? You’ll need the .ttf files for all supported styles (thin, ultraLight, light, regular, medium, semibold, bold, heavy, black …). Here are the few steps you need to add it.
Add more font family in folder ./app/assets/fonts/..
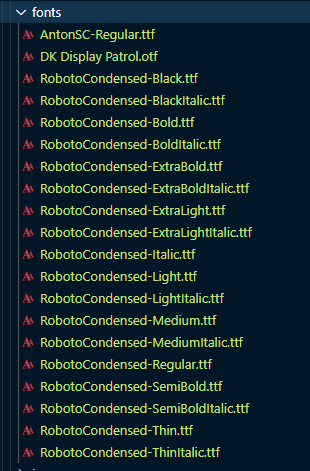
After added new font, open your terminal and run
npx react-native-asset
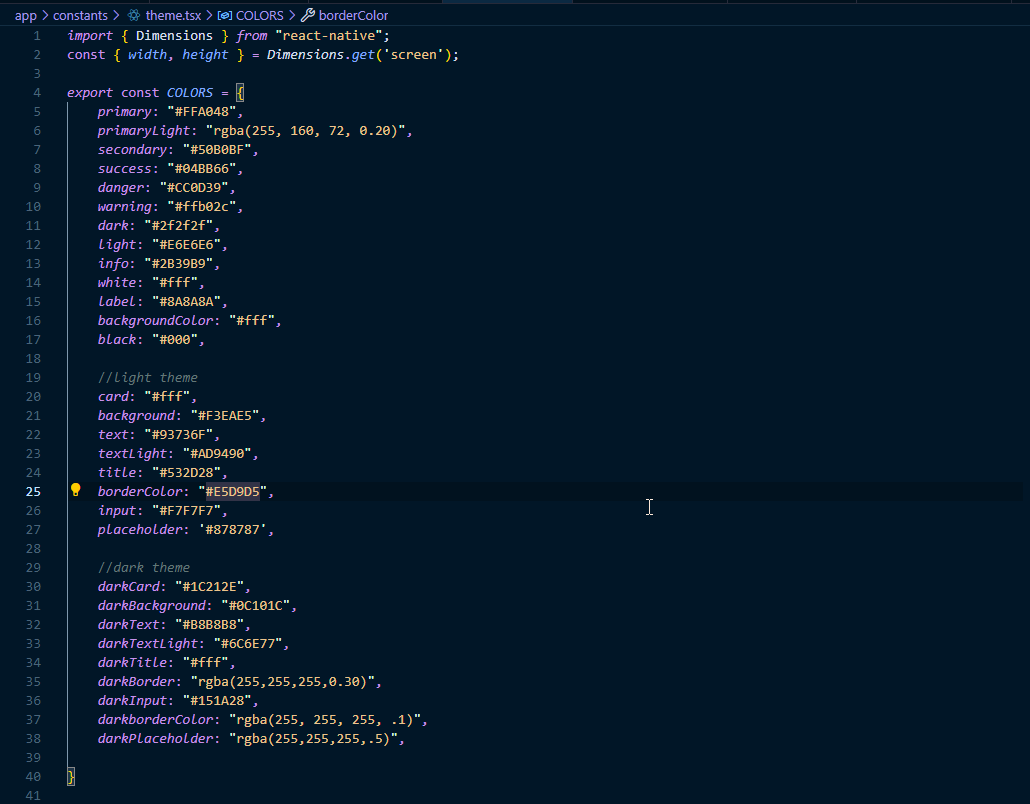
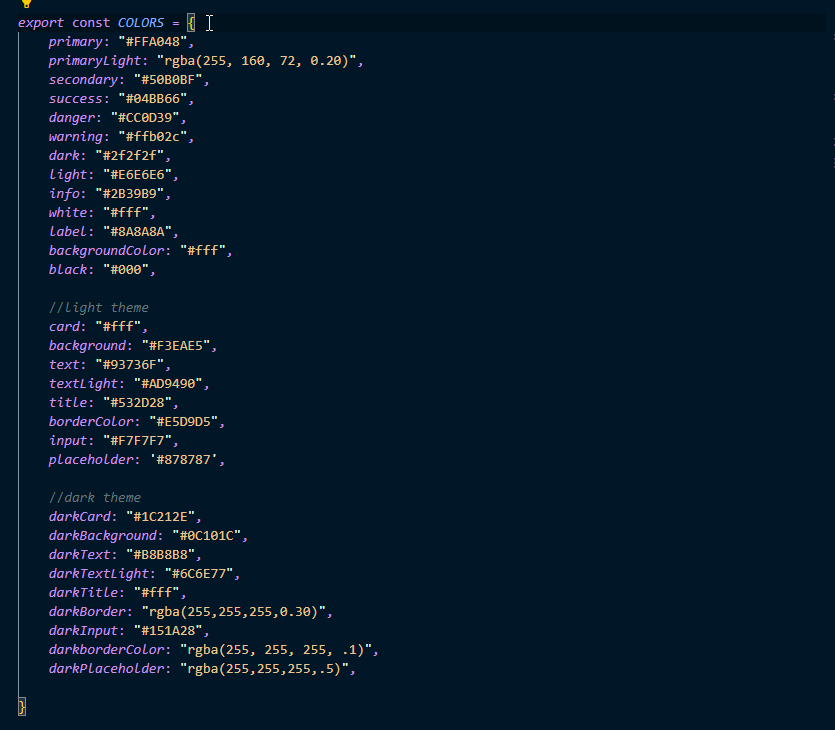
Color
The template are using color palette following format below.
You can change the theme prop dynamically and all the components will automatically update to reflect the new theme. Open file ./app/constants/theme.js
App Name & Icon -
Change the app name
Open file ./package/app.json and replace PetPerks with your app name

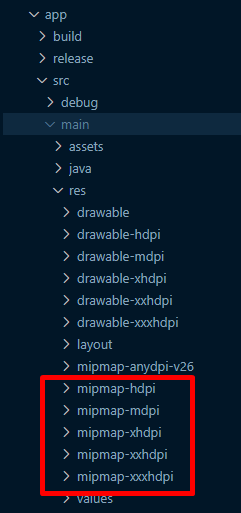
Change App Icon
open folder ./package/assets
when you download of 1024px x 1024px (width x height) you got files then replace them with the below.
Note: After all Changes Sync you project files and restart your app.
Our Products -
Do You Need Help To Customization
After Purchase A Template...
You Will Start Customizing According Your Requirement
BUT What If You Don't Know
SOLUTION IS HIRE DexignZone
Hire Same Team For Quality Customization
- We Will Customize Template According To Your Requirement
- We Will Upload On Server And Make Sure Your Website is Live
Version History - #back to top
v2.1 - 24 September 2025
- Upgraded to Expo (SDK 54) for enhanced compatibility and performance
- Updated all third-party libraries to their latest stable versions
- Resolved UI/design inconsistencies across both iOS and Android platforms
- Enhanced app performance and stability for a smoother user experience
- Added SafeAreaView import from
react-native-safe-area-contextto ensure proper edge-to-edge layout on devices with notches and home indicators
v2.0 - 22 July 2025
- Upgraded to Expo (SDK 53) for enhanced compatibility and performance
- Updated all third-party libraries to their latest stable versions
- Resolved UI/design inconsistencies across both iOS and Android platforms
- Enhanced app performance and stability for a smoother user experience
v1.0 - 24 September 2024
- New - Created & Upload BakeRon